1. Proposify
01. On Hubspot ensure that you have a contact attached to the deal

02. Go to the bottom right of the HubSpot deal to the section called Proposal

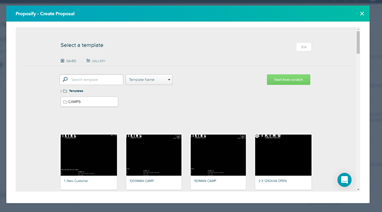
03. Click on "Create Proposal" which will open the following box:

04. You can then choose a template for your quote, please use “4. Rental/ Hire”

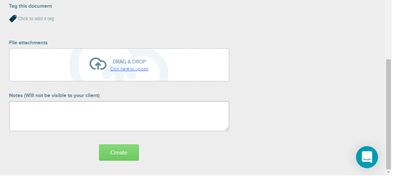
05. This will open a new settings box, which will take the information off HubSpot. There is no need to edit this information unless you wish to change any details. Scroll to the bottom and choose “Create”

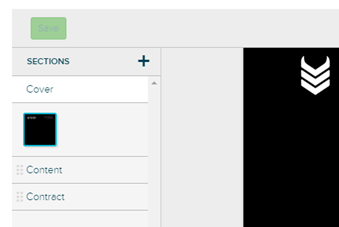
06. This will open your proposal document, the first page is just a title page. On the left you can see the document sections

07. On the right hand side you can see document settings, which will let you add tables and signatures, etc.

08. To get started on the quote itself, scroll down to the content section, it comes premade with a “COSTINGS” table.

09. Most generators already have some form of template saved in Proposify, click on the Fee Title box in your table, on the right-hand side you will see the “Fee row properties” section open. Click the section “Fee Library Actions” and select Import Fees

10.
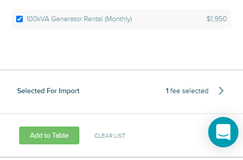
In the fee library, search for the item you’re looking for and select the box next to the item

11. Then select the green “Add to Table” button at the bottom of the pop-out

12. This will automatically add to your table

13. There is some small amount of editing we need to do to make this more presentable. Firstly, we need to delete the empty item line above the generator. Click the empty line and then click the bin icon

14. Next, inline with Viking presentation, we will make the title line of the item bold

15. Next, edit the table columns to make it more presentable. Do this by hovering the mouse over the vertical lines between the boxes

16. The next editing step is to add appropriate time measurement, since Proposify is used for rentals.

17. If you need to add a second costings table for another product item, double click underneath your table. Then go to the table symbol on the right side of the screen

18. From this point, select fee in the table type section

19. This will expand the section, click insert fee table to continue

20. This will give you a second table

21. Now your second table needs a suitable table, click above the table and select the text type from the top

22. The default title is Heading 2

23. The document is ready to send now, close the pop-out window, there will now be an item in the proposal section of your HubSpot, select view more.

24. Then select the box next to “View it in Proposify”

25. This will take you to the snapshot section of the Proposify website

26. You can select the “Preview” button to do a once over of your document to double check. If you are satisfied, click the mark as dropdown box and click sent. Then select “Yes, Update”

27. Now click download pdf and you will have your document ready to attach to an email.

